

.png)
CONTENT
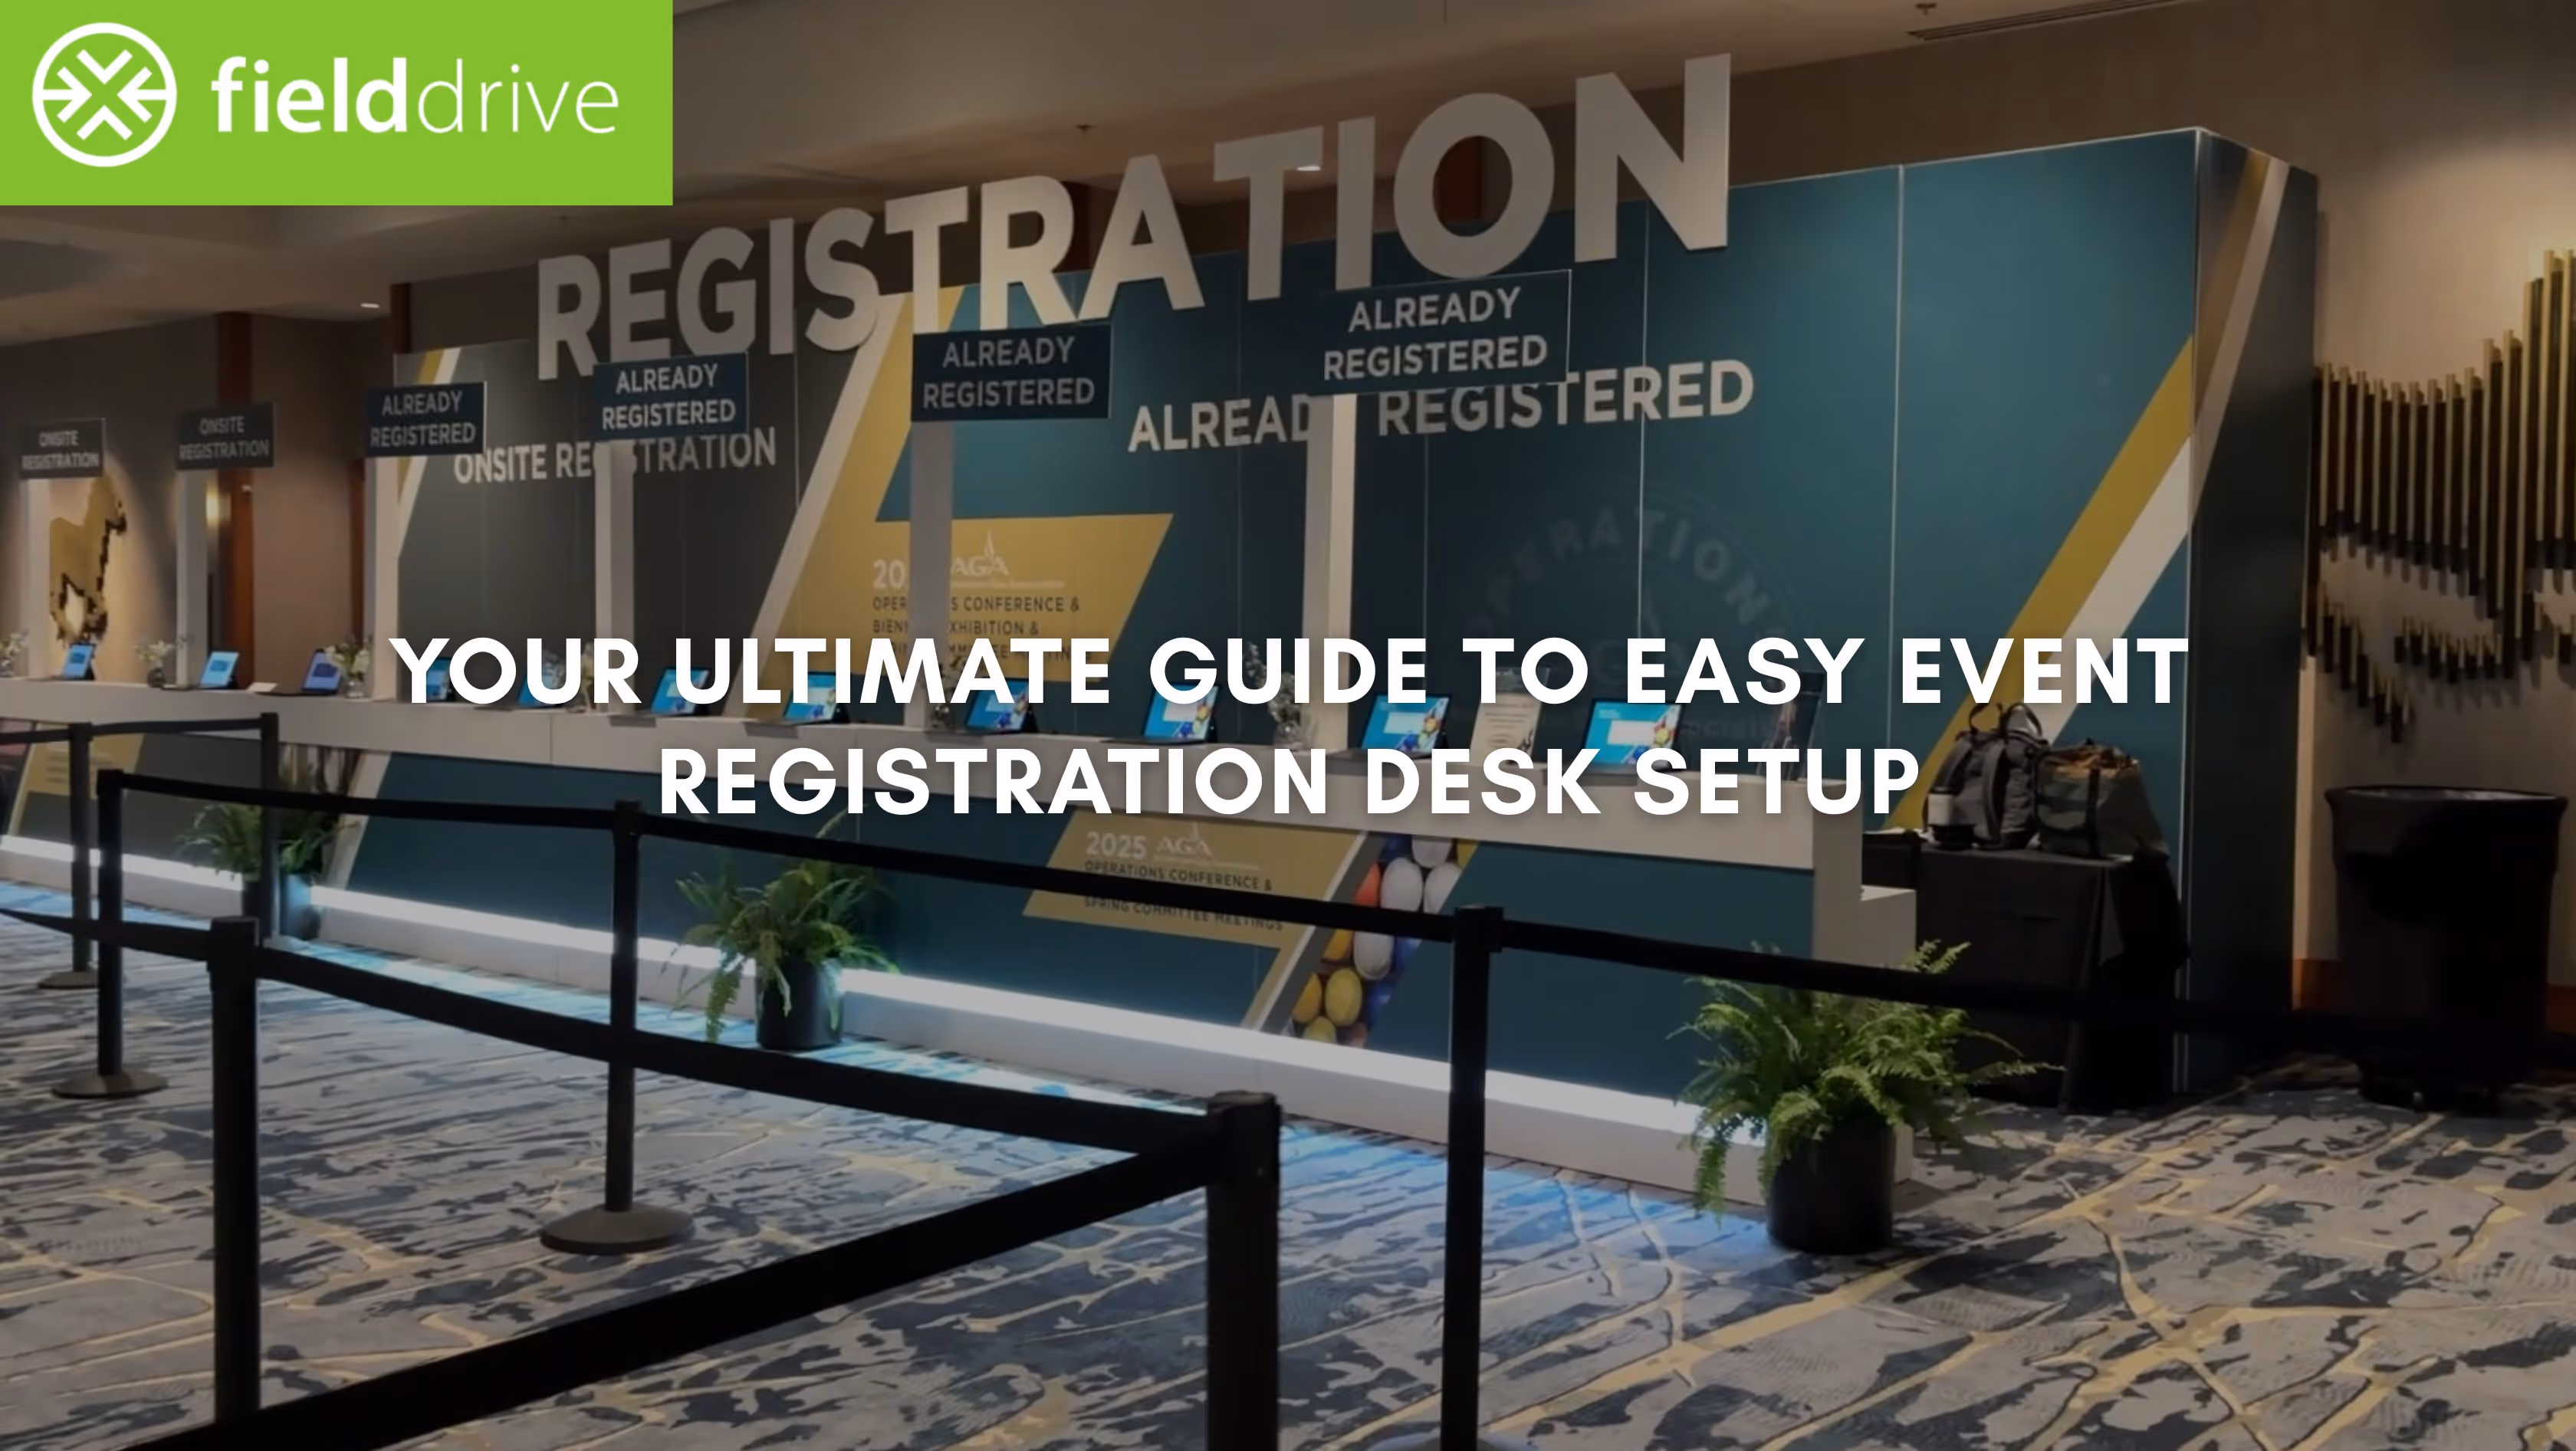
There is nothing worse than walking into a venue and seeing a line wrapping around the building. It immediately frustrates attendees and puts your entire operations team on the back foot before the keynote begins.
A chaotic entrance creates a negative first impression that lingers throughout the entire conference or trade show. According to a study, 36% of event planners cite check-in as their biggest onsite technology challenge.
You need a strategy that moves people from the door to the session rooms rapidly. A well-planned entrance reduces wait times and captures vital data for your sponsors and stakeholders. In this article, we explain the exact hardware, layouts, and workflows required to master your event registration desk setup.
An Overview
- Never rely solely on venue Wi-Fi for your check-in tech; always use hardwired internet connections.
- 36% of event planners cite check-in as their biggest onsite challenge. A strategic desk setup directly addresses this primary pain point.
- Facial recognition and QR scanning kiosks process attendees significantly faster than manual name searches.
- Live badge printing eliminates the time wasted searching for pre-printed badges in alphabetical trays.
- Assign "floaters" to manage the queue and help attendees prepare their QR codes early.
- Do not hand out gift bags at the check-in counter, as it creates massive bottlenecks.
Checklist for Your Event Registration Desk
A functional desk requires more than just a table and a laptop. You must account for power, connectivity, and physical flow to ensure your systems stay online.
This checklist covers the foundational elements you need to secure before you even unpack your printers:
1. Dedicated Hardline Internet
Wi-Fi is unstable in crowded venues, so you must secure a dedicated Ethernet line for your server or master node. This ensures your check-in database syncs in real time without lagging due to attendee phone traffic.
2. Consistent Power Supply
Avoid daisy-chaining power strips, as this creates a fire hazard and risks tripping breakers during peak registration hours. Ensure each station has direct access to power drops provided by the venue AV team.
3. Ergonomic Furniture Height
Use counters that stand approximately 40 to 42 inches high to allow attendees to interact with kiosks comfortably. Standard banquet tables are too low for standing interactions and force your staff to sit, which slows down service.
4. Clear Directional Signage
Place high-visibility signage at eye level and overhead to guide attendees to the correct lanes immediately. Clear signs for "Pre-Registered" and "Onsite Registration" prevent confusion and keep the traffic flowing in the right direction.

Also read: Exhibition Management Guide with Best Practices
Once your physical infrastructure is secure, the next priority is selecting the right machinery to process your guests.
Hardware and Software Essentials for Fast Check-in
Speed is the primary metric for a successful entrance. The technology you choose dictates how many seconds it takes to process a single guest. Here are the tools that professional organizers use to keep lines moving:
1. Touchless Self-Service Kiosks
Kiosks allow attendees to scan a QR code or use facial recognition to instantly locate their registration records. This reduces the need for typing and allows one staff member to oversee multiple check-in stations simultaneously.
2. On-Demand Badge Printers
These printers produce full-color badges in seconds and eliminate the waste associated with pre-printing thousands of name tags. They allow you to correct typos on the spot and handle last-minute walk-ins without disruption.
3. Real-Time Check-in Software
Your software must integrate with your registration platform and provide live dashboards on attendance numbers. This visibility helps you make quick decisions about opening more lanes or holding session start times.
4. Handheld QR Scanners
Equip your "line busters" with mobile scanners to check in VIPs or resolve issues before they reach the desk. These devices provide flexibility and help you manage unexpected surges in attendee traffic.
Also read: 15 Tips for Successfully Managing an Event

Having the right equipment is only the first step; you must now deploy it in a specific sequence to ensure operational readiness.
Step-by-Step Process for Easy Event Registration Desk Setup
Building the desk is a logistical operation that requires a strict sequence of actions. Skipping steps leads to technical failures when the pressure is on. Follow this workflow to build a robust event registration desk setup that handles high volume:
1. Map the Visitor Flow
Design the check-in experience exactly the way an attendee will move through it. Start by sketching a simple flow:
Entry → Queue → Kiosk → Badge Pickup → Swag / Help Desk → Venue Access
Now turn that into a physical layout:
- Place clear entry signage 10–15 feet before the queue so attendees know exactly where to go.
- Allocate a minimum of 6–8 feet of queue width to prevent crowding. Use stanchions to maintain order during peak waves.
- Position kiosks perpendicular to the entrance, not directly in front of it. This prevents bottlenecks as attendees arrive in bursts.
- Leave 3–4 feet of space behind each kiosk so people who finish check-in can step back, pick up their badges, and exit without colliding with others.
- Add a dedicated exit lane that directs attendees to the swag area, information desk, or main hall—this prevents the check-in zone from becoming a two-way traffic bottleneck.
- If using multiple kiosk banks, create a single central queue rather than several small ones. This balances the load and eliminates empty kiosks.
Pro Tip: Before event day, do a simulated walkthrough with your team. If you get confused or stuck anywhere, attendees will too.
2. Install and Test Connectivity
A registration desk is only as fast as its network connection. Never rely on the venue's public Wi-Fi; securing a dedicated, reliable connection is non-negotiable for high-volume check-in.
This stage prepares the invisible infrastructure that powers every transaction. Follow these steps:
- Locate and activate designated ethernet ports before setting up tables.
- Establish a dedicated, password-protected network separate from attendee Wi-Fi.
- Ensure all central kiosks and servers connect via hardline for stable data syncing.
- Calculate the exact upload and download speeds required for your check-in hardware.
- Confirm the venue can deliver the guaranteed dedicated bandwidth ordered.
- Connect a device to every ethernet drop and run speed tests to verify consistent performance.
- Run a test print job from every kiosk to confirm printer recognition and correct badge template loading.
- Verify communication between all printers and kiosks (USB or localized network).
Pro Tip: Run a continuous data sync test between your registration platform and the check-in software for 30 minutes. If the connection drops or the sync lags, you need to address the network quality before setting up the physical hardware.
3. Position Hardware and Hide Cables
The physical placement of equipment affects both the speed of your staff and the safety of your attendees. This stage transforms the counter surface into a functional, secure workspace.
Below are some key actions to take:
- Place kiosk tablets directly in front of the attendee.
- Position badge printers slightly behind the staff member, near the exit path.
- Use security tethers or locking mounts to secure kiosks and tablets to the counter.
- Bundle all power and data cables neatly behind the counter away from foot traffic.
- Cover floor-crossing cables with heavy-duty cable ramps, not just tape, for safety.
- Ensure each staff member has a clear 18-inch workspace near the printer.
Pro Tip: Label every cable (power, network, USB) with clear tape tags at both ends. If a cable accidentally disconnects during peak hours, staff can identify and reconnect it in seconds.
4. Conduct a Full System Simulation
A successful event depends on operational readiness, not just theoretical planning. A full simulation is your final safety check, designed to intentionally break the system and find weaknesses before attendees arrive.
Here's how you conduct a full system simulation:
- Run a full-speed simulation for 20 minutes, processing five test attendees per lane per minute.
- Use varied test profiles (VIP, walk-in, missing QR) to check data integrity and instant database syncing.
- Print test badges from every printer using final stock to check alignment, colors, and readability.
- Intentionally disconnect hardware to test staff reaction speed and offline mode procedures.
- Ensure staff knows the exact workflow for directing attendees to the separate Help Desk.
Pro Tip: Include the most confusing element of your registration (like complex session access rules or custom badge add-ons) in your simulation. If your staff can navigate the trickiest case, they are ready for anything.
Also read: 10 Eco-Friendly Exhibition Centres Across the UK: Sustainable Venue Insights
However, even a flawless technical setup requires a skilled team to manage the human element of the arrival experience.
Importance of Staffing and Training
Even the best technology fails if your team does not know how to use it. You need a mix of technical knowledge and customer service skills at the front door. A well-prepared team acts as the final safeguard against on-site chaos.
Here's what you need to do:
1. Define Clear Roles
Assign specific duties such as "Greeters" for queue management and "Tech Support" for printer jams to avoid role confusion. When everyone knows their specific responsibility, the team resolves issues faster and maintains a calm atmosphere.
2. Provide Technical Training
Train your staff on how to reload badge stock and troubleshoot common software error messages before the event starts. Quick fixes at the desk prevent long delays and keep the line moving without escalating every issue to a manager.
3. Schedule Overlapping Shifts
Create a roster where shifts overlap by at least 30 minutes during peak times to ensure full coverage. This allows for seamless handovers where outgoing staff can brief incoming staff on any ongoing issues.
With a trained team in place, you can further elevate your efficiency by implementing specific operational tactics.
7 Best Practices for Effective and Frustration-Free Event Registration Desk
Refining your operations separates a standard welcome from a premium attendee experience. Small adjustments to your workflow yield significant time savings when multiplied by thousands of guests.
Implement these practices to optimize your event registration desk setup:
1. Implement Snake Queues
Use a single serpentine line that feeds into multiple counters rather than separate lines for each station. This method is mathematically faster and reduces the frustration of getting stuck behind a slow attendee in a dedicated lane.
2. Encourage Digital Wallet Usage
Send Apple Wallet or Google Pay passes with QR codes in your pre-event communication emails. This allows attendees to pull up their credentials instantly without digging through their email inbox at the counter.
3. Dedicated Troubleshooting Station
Direct any attendee with a registration issue to a separate "Help Desk" away from the main check-in flow. This keeps the main lines moving for attendees who have their credentials ready and just need a badge.
4. Segment Your VIPs
Create a clearly marked express lane for speakers, sponsors, and VIPs to provide a white-glove experience. This ensures your most important stakeholders are not waiting behind general attendees or students.
5. Monitor Consumables Closely
Assign a team member to track paper and ribbon levels in your printers throughout the day. Refilling stock before it runs out completely prevents the panic of a printer stopping mid-badge.
6. Synchronize Data Often
Ensure your check-in devices are set to sync data with the cloud every few seconds if internet bandwidth allows. This prevents duplicate check-ins and ensures your analytics dashboard reflects the true onsite reality.
7. Hardwire Your Printers
Connect printers directly to the kiosks via USB or Ethernet rather than relying on Bluetooth or Wi-Fi connections. Wired connections are far more reliable and eliminate communication errors between the tablet and the printer.
Also read: Real-Time Analytics Dashboards: Empowering Live Event Decisions
While optimizing for speed is crucial, it is equally important to be aware of the standard errors that can derail your planning.
Common Mistakes and How to Avoid Them
Many organizers make avoidable errors that cause gridlock at the entrance. Recognizing these pitfalls helps you build contingencies into your plan. Avoid these standard errors to protect your event registration desk setup:
1. Relying on Venue Wi-Fi
Planners often assume the venue's public network can handle the load of check-in devices and attendee phones simultaneously.
Tip: Always budget for a dedicated, password-protected network or hardline specifically for your registration equipment.
2. Underestimating Peak Arrival Times
Organizers frequently staff the desk evenly throughout the day rather than stacking staff during the morning rush.
Tip: Analyze arrival data from previous years and schedule 80% of your staff during the first two hours of the event.
3. Combining Check-in and Swag
Handing out t-shirts or gift bags at the same counter as badge printing doubles the transaction time per attendee.
Tip: Build a separate "Swag Station" further inside the venue to disperse the crowd after they have received their badge.
Also read: Strategies for Marketing an Event: A Simple Guide
Avoiding these pitfalls requires experience and powerful technology, which is exactly where a specialized partner becomes invaluable.
Why Smart Organizers Choose fielddrive
Standard registration setups often struggle with slow internet, finicky printers, and disjointed data that confuses staff. This leads to the very bottlenecks you are trying to avoid, resulting in frustrated attendees and stressed organizers. Manual processes and consumer-grade hardware simply cannot handle the surge of a modern enterprise event.
fielddrive solves these operational headaches by providing enterprise-grade hardware and global logistics support. Our full-color badge printing happens in just seconds, and our facial recognition kiosks offer the fastest entry in the industry.
- Global Logistics Hubs: We deploy equipment from hubs worldwide to ensure your gear arrives on time and fully configured.
- Facial Recognition: Attendees check in simply by looking at the kiosk, offering a secure and futuristic experience.
- Resilient Architecture: Our systems are designed to work offline, ensuring your check-in continues even if the venue's internet fails.
- Sustainable Options: We offer eco-friendly full-color badges that reduce the environmental footprint of your event.
Partnering with fielddrive means your registration desk is powered by proven technology and operational expertise.
Conclusion
A successful event registration desk setup sets the tone for your entire event. By focusing on efficient layouts, reliable hardwired internet, and distinct staff roles, you eliminate queues and confusion. The right preparation transforms a stressful morning into a professional, welcoming experience for every guest.
fielddrive empowers you to deliver this level of excellence through speed, security, and global reliability. We handle the heavy lifting of hardware and logistics so you can focus on your attendees.
Ready to upgrade your onsite experience? Request a demo with fielddrive today.
FAQs
Q. What is the ideal height for a registration counter?
The ideal height is between 40 and 42 inches. This "bar height" allows attendees to use kiosks while standing and lets staff interact with them at eye level.
Q. How many check-in stations do I need?
A general rule is one station for every 75-100 attendees arriving within the peak hour. If you use facial recognition or fast printing, you can process more people with fewer stations.
Q. Should I pre-print badges?
No, live printing is generally superior for efficiency and waste reduction. It eliminates the time spent searching for names and allows for instant corrections or substitutions.
Q. How do I handle walk-in registrations?
Direct walk-ins to a separate station equipped with a payment terminal and full registration software. Keep them out of the main pre-registered line to avoid slowing down the flow.
Q. What happens if the internet goes down?
Your check-in provider should have an offline mode. This allows the kiosks and printers to continue functioning locally, syncing the data to the cloud once connectivity is restored.
.svg)
.svg)
.svg)
Want to learn how fielddrive can help you elevate your events?
Book a call with our experts today

.svg)